Step 1: Click the navigation menu and select Products > Products.
Step 2: The Products page is displayed with a list of your products. Click Add Products at the top of the page.
Step 3: In the Add Products window, select the Retailer for which you want to add products, then select the Category and subcategory. Click Blank Template to download an empty spreadsheet and add new product data.
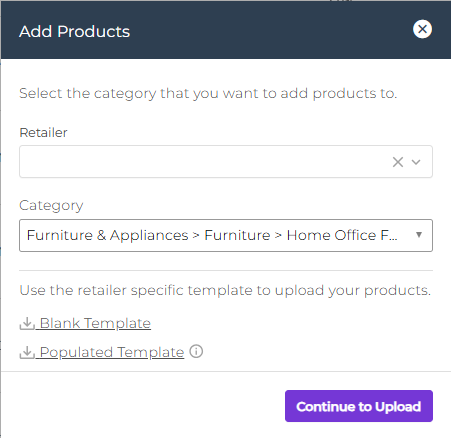
Looking to add new products while editing existing product data? See Editing your products for more information.
Step 4: Fill out the spreadsheet with your products. Here's some additional information about the spreadsheet:
- Green attributes are required by your retailer. Be sure to scan the entire spreadsheet and make sure all required fields are filled out.
- Blue attributes are recommended by your retailer.
- Grey/White attributes are optional and can be used if you'd like to store additional information about the product. If you provide data for these fields, the data will be validated to meet Rithum's system requirements. For more information about field definitions and requirements, see Rithum Data Schema.

Adding images to your products? Be sure every product includes at least one image URL. Make sure that either all rows are complete in the "image_reference" columns or completely remove the "image_reference" columns from the spreadsheet. Remove all unused columns from the spreadsheet. For more image guidelines, see Working with product media for advanced catalog services.
Step 5: When you're ready to upload the spreadsheet, return to the Products page and click Add Products.
Step 6: In the Add Products window, click the drop-down to select the Retailer, then select a Category/subcategory and click Continue to Upload.
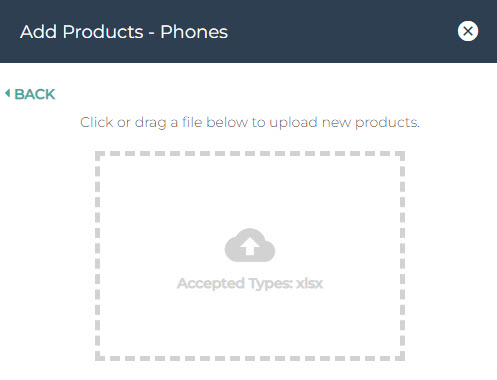
Step 7: In the Add Products window, click the box and navigate to the location of the file or drag the file into the box. Click UPLOAD.
Step 8: While your product data is reviewed to ensure it meets both Rithum’s minimum system requirements and your retailer’s catalog requirements, a Products Processing prompt appears at the top of the page.
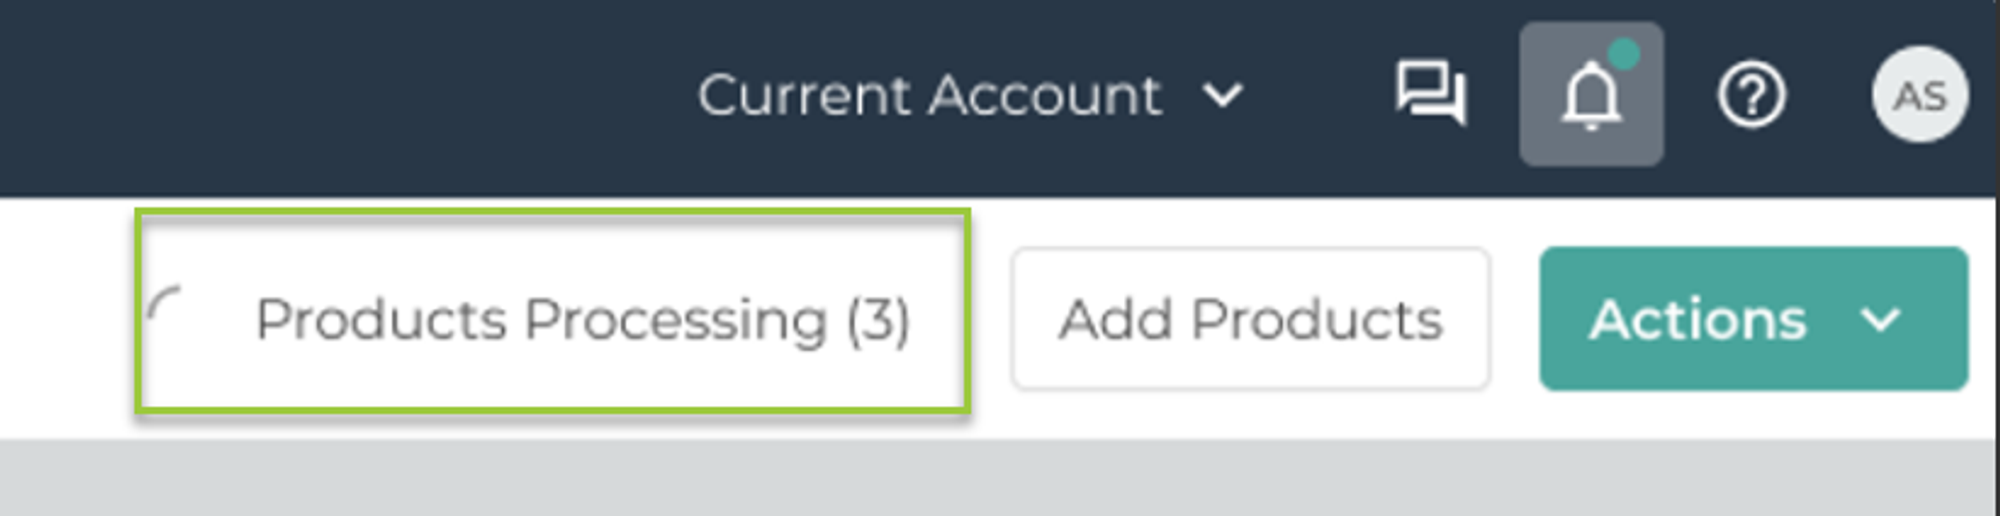
Step 9: Click Products Processing to see the progress of your upload.
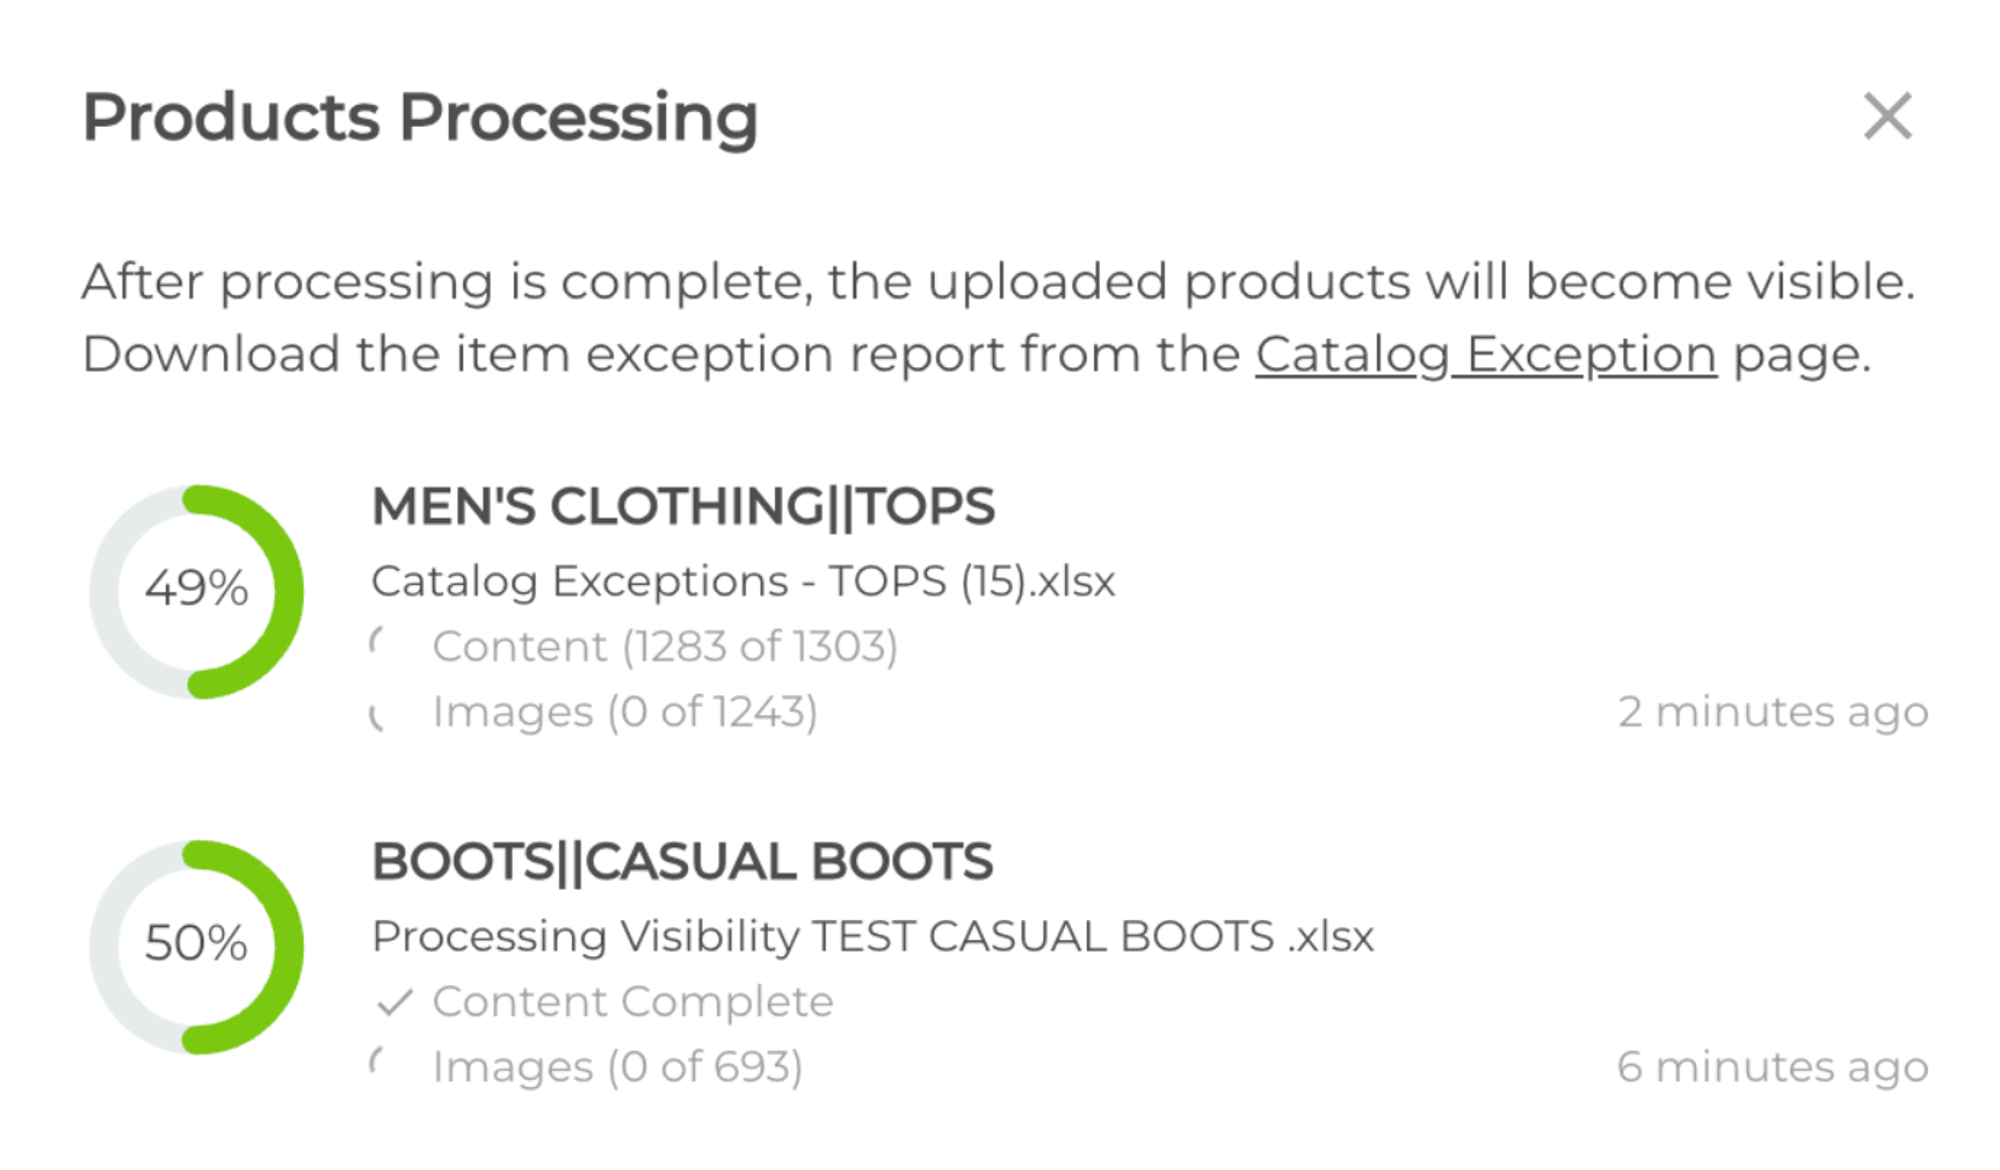
Step 10: If your catalog was uploaded successfully, a pop-up is displayed.
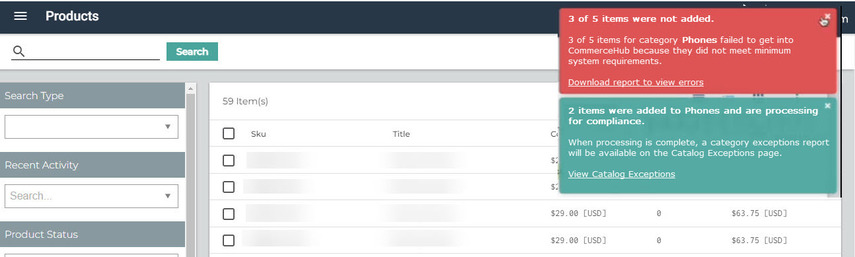
- If your products do not meet minimum system requirements, an error notification is displayed. Click Download report to view errors to view and download a spreadsheet that lists all products with an error. The file will display only one error per product. You’ll need to correct the errors in your file and re-upload your file to the system. For more information, see Troubleshooting common errors for advanced catalog services.
- If your products do not meet your retailer’s catalog requirements, a notification for compliance errors and/or category errors is displayed.
Tip: Loading a large catalog may take some time. When your file has finished processing, check out the Notification Center to see any issues, errors, and file processing status related to your data. Click the bell icon at the top of the page (a green dot will be displayed for new notifications) to access the Notification Center.