Step 1: Click the navigation menu and select Products > Inventory.
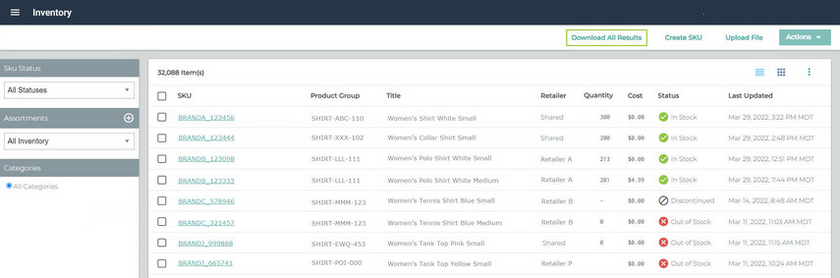
Step 2: On the Inventory page, click Download All Results at the top of the page.
Step 3: In the Inventory Download All Results window:
- Select Inventory or Catalog, depending on the data set you need.
- Choose the file format you prefer.
- Select the Requested Locales(s).
- Select Requested Currency(s).
When complete, click Export.

Note: Both the Inventory Excel Template and Catalog Excel Template can be used for your item information, but Inventory provides the narrowest set of data and Catalog provides the widest set of data. For example, the narrow Inventory template can be used to enter essential item details such as quantity or the status, and the wider Catalog template can be used to enter extra details such as warehouse location or handling cost.
Step 4: Open the newly-downloaded file and make your changes. When finished, save the file.
Tip: Looking to remove unwanted or incorrect values from the fields? Simply enter the text string “null” to delete values in existing fields. When you reupload your SKUs, the unwanted values will no longer appear.
Step 5: Return to the Inventory page in the platform. Click the navigation menu and select Products > Inventory.
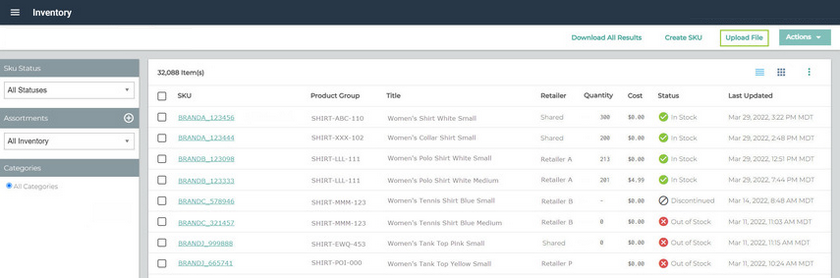
Step 6: On the Inventory page, click Upload File at the top of the page.
Step 7: On the Upload Inventory page, click Choose File and follow the instructions to upload the file from Step 4.
Step 8: Click Inventory or Catalog according to the file you're uploading to the platform.
Step 9: A status message is displayed at the top of the page. Your inventory data should appear in the Inventory page within a couple of minutes.
Note: If your inventory data does not appear within a few minutes, review the logs for all of your jobs. Refer to Checking your job history for more information about reviewing process logs.